Intro To Manual Mode
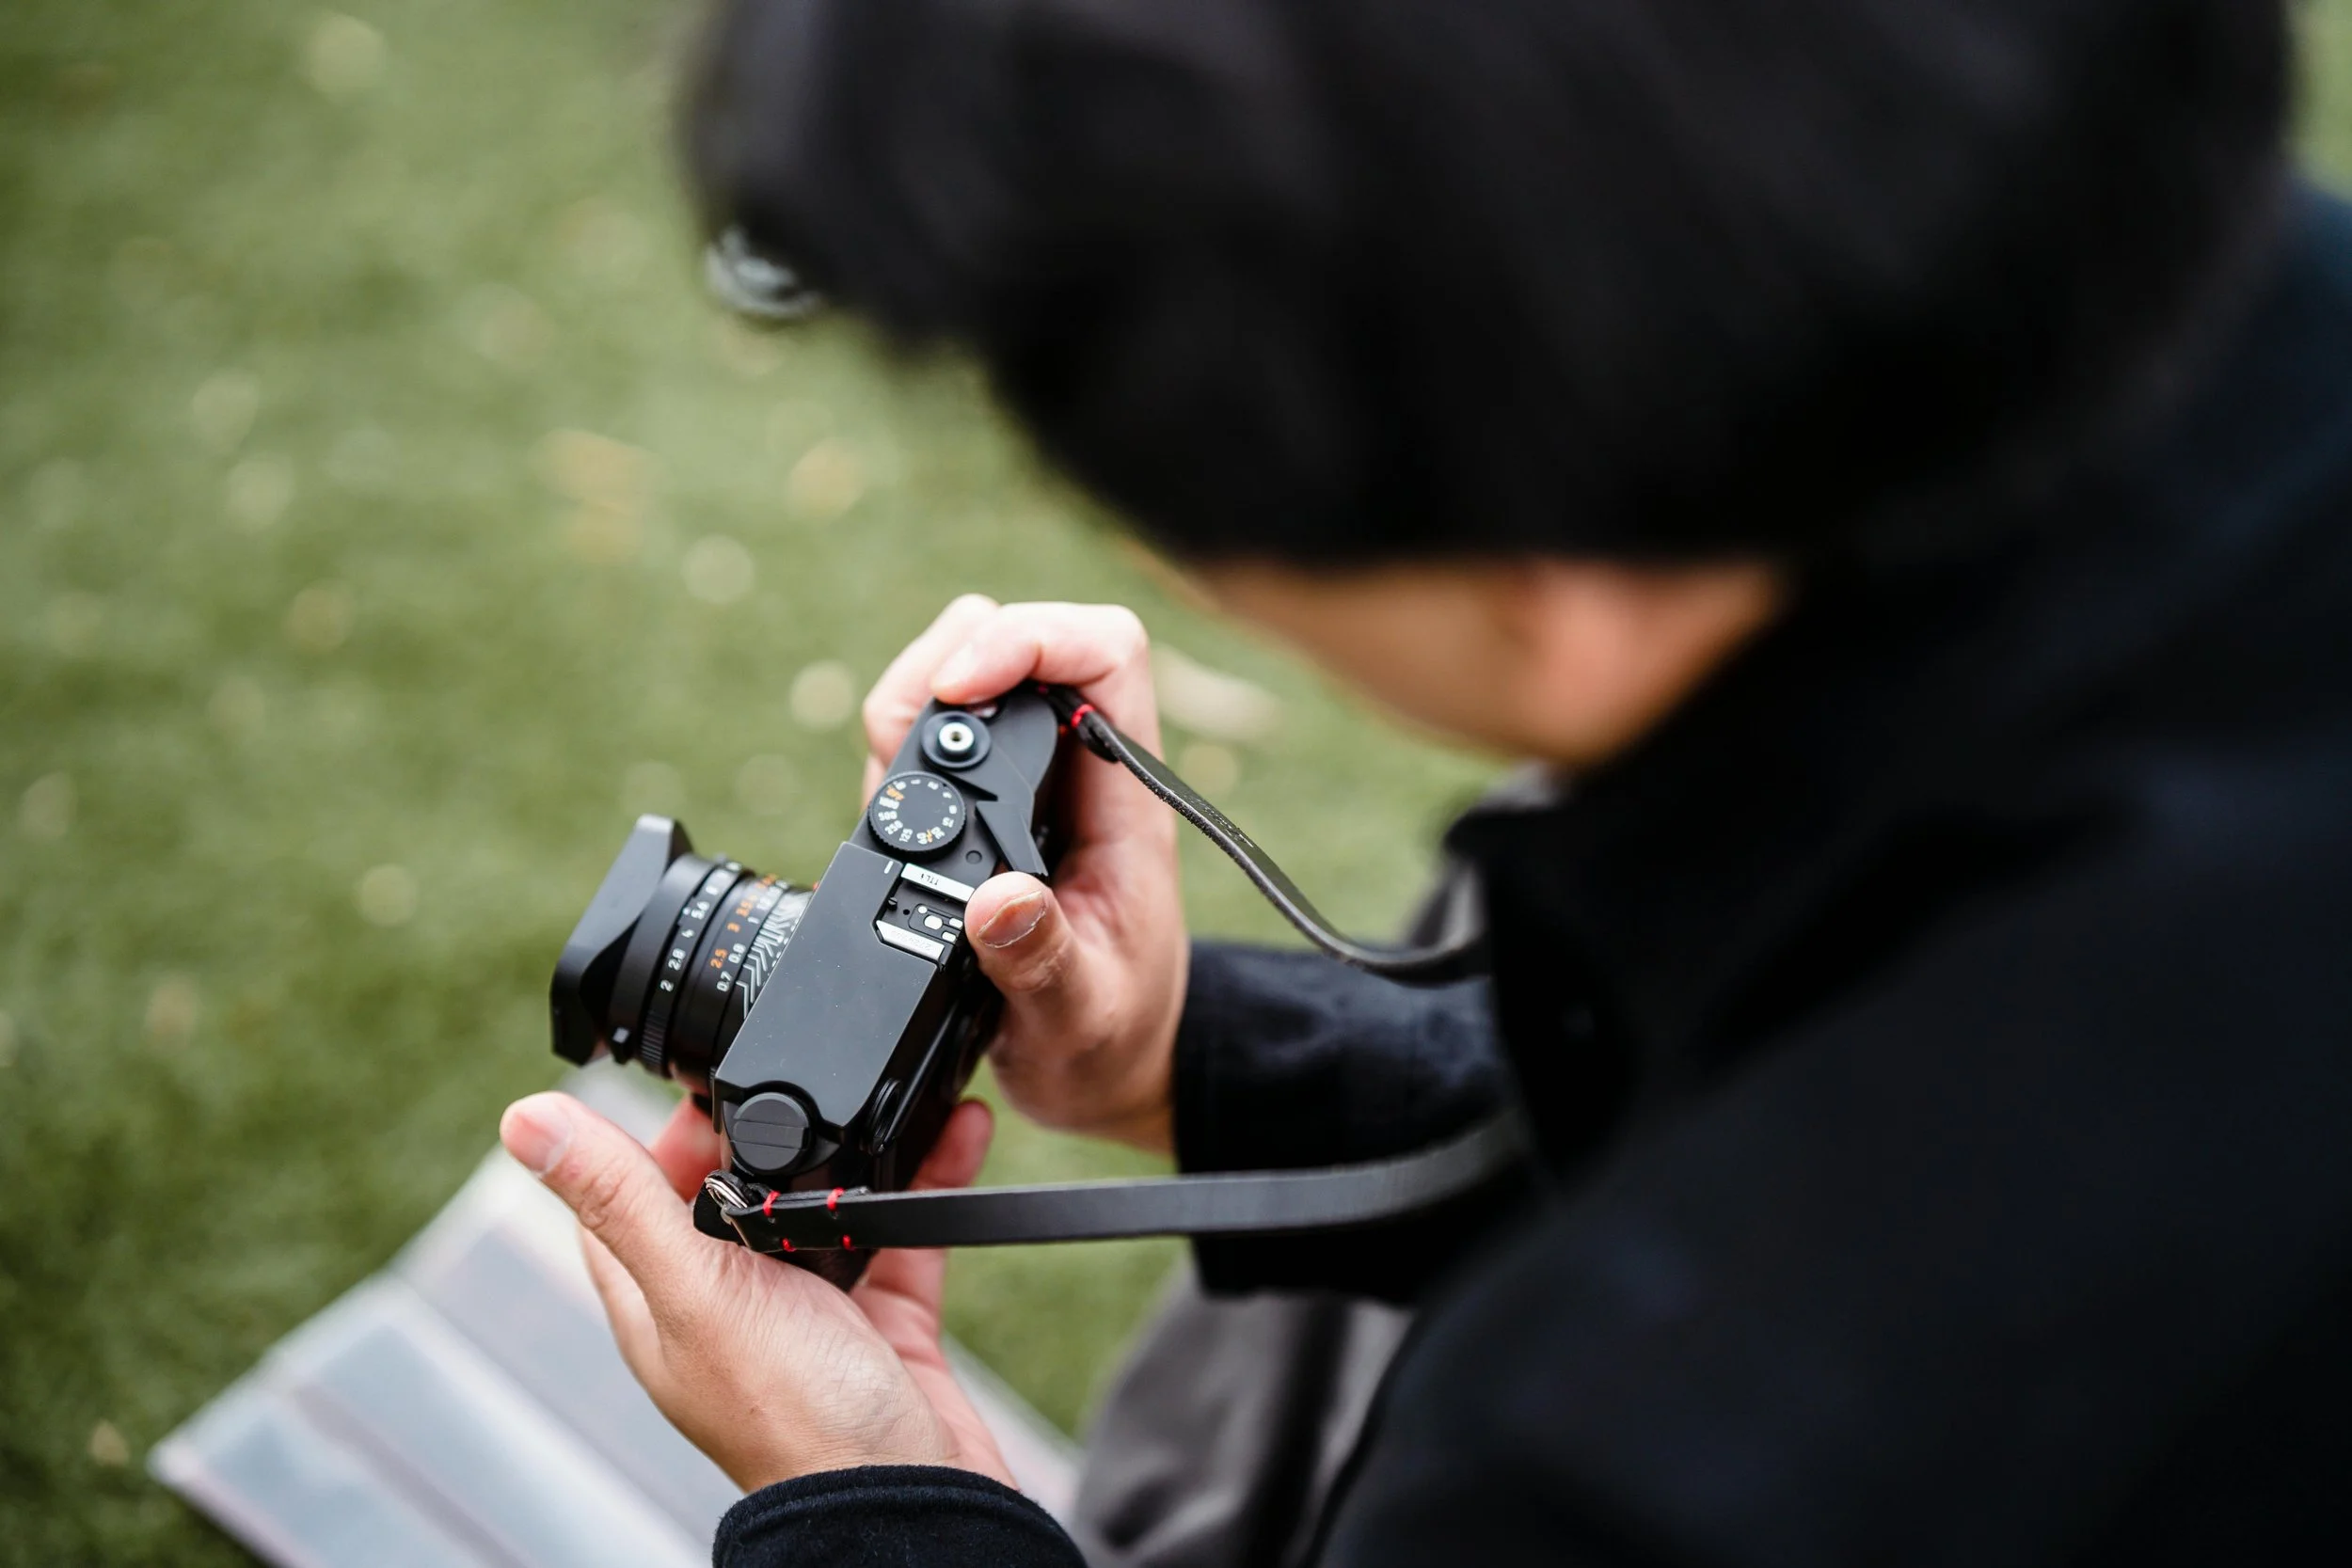
So, you recently got a new camera, and you have been thoroughly enjoying the various pictures you’ve taken so far, but let’s be honest, you want to achieve a little more creativity and precision in your photography journey, and that’s where Manual mode comes into play, allowing you to gain full control over your camera settings and unleash your artistic potential.
In this mode, your camera essentially grants you complete control over the various exposure settings also called the exposure triangle, which include Shutter Speed, Aperture, and ISO, allowing you to capture images exactly as you envision them.
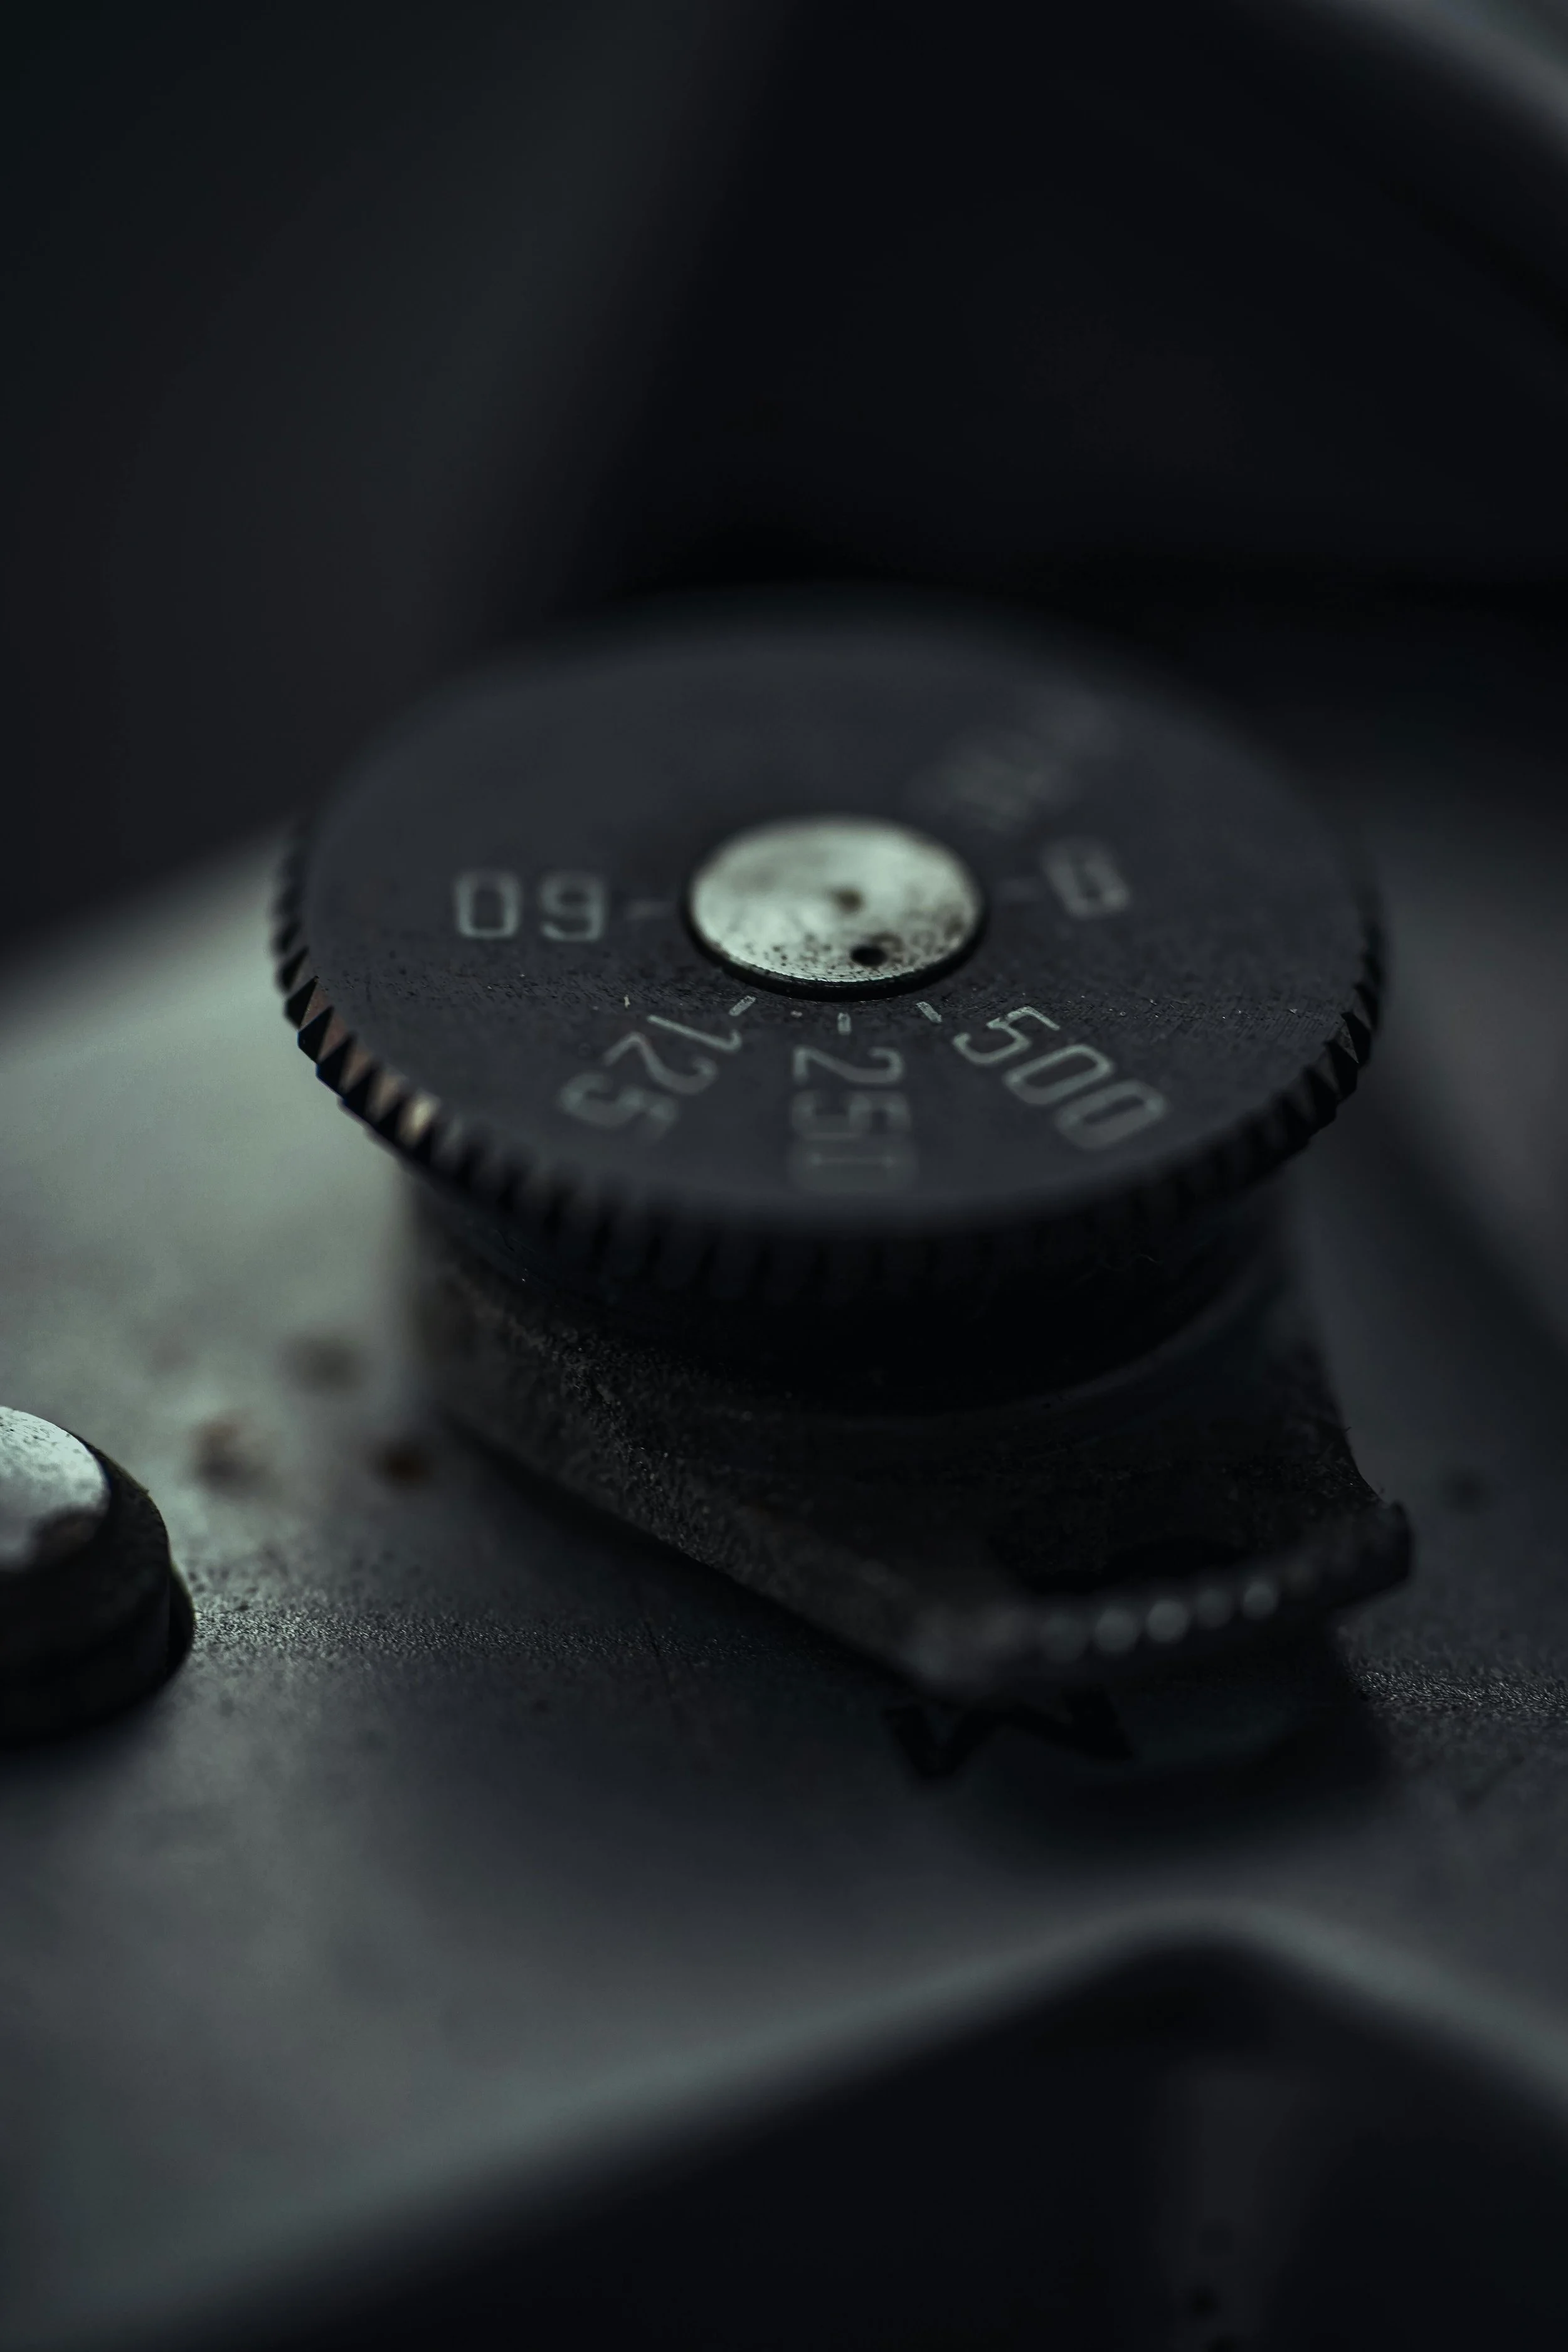
Shutter Speed
Put simply, exposure time is what allows you to control precisely how long the camera sensor is exposed to light when you press the shutter button. For most photography styles a sharp and clear image is crucial so a great way to get consistent results is to apply the Shutter speed focal length rule. For example If you have a lens the has a focal length of 50mm make sure the shutter speed doesn’t go below that focal length.Certain special ocasions such as sports wildlife or other fast moving objects like a water droplet require much faster shutter speeds like 1/500 or even 1/1000 for even faster sports. On the other hand, a slow shutter speed, like 1/10 of a second, creates motion blur, adding an artistic touch. Think light trails, flowing water, or dreamy nightscapes. For slow shutter speeds, use a tripod to avoid unwanted blur.
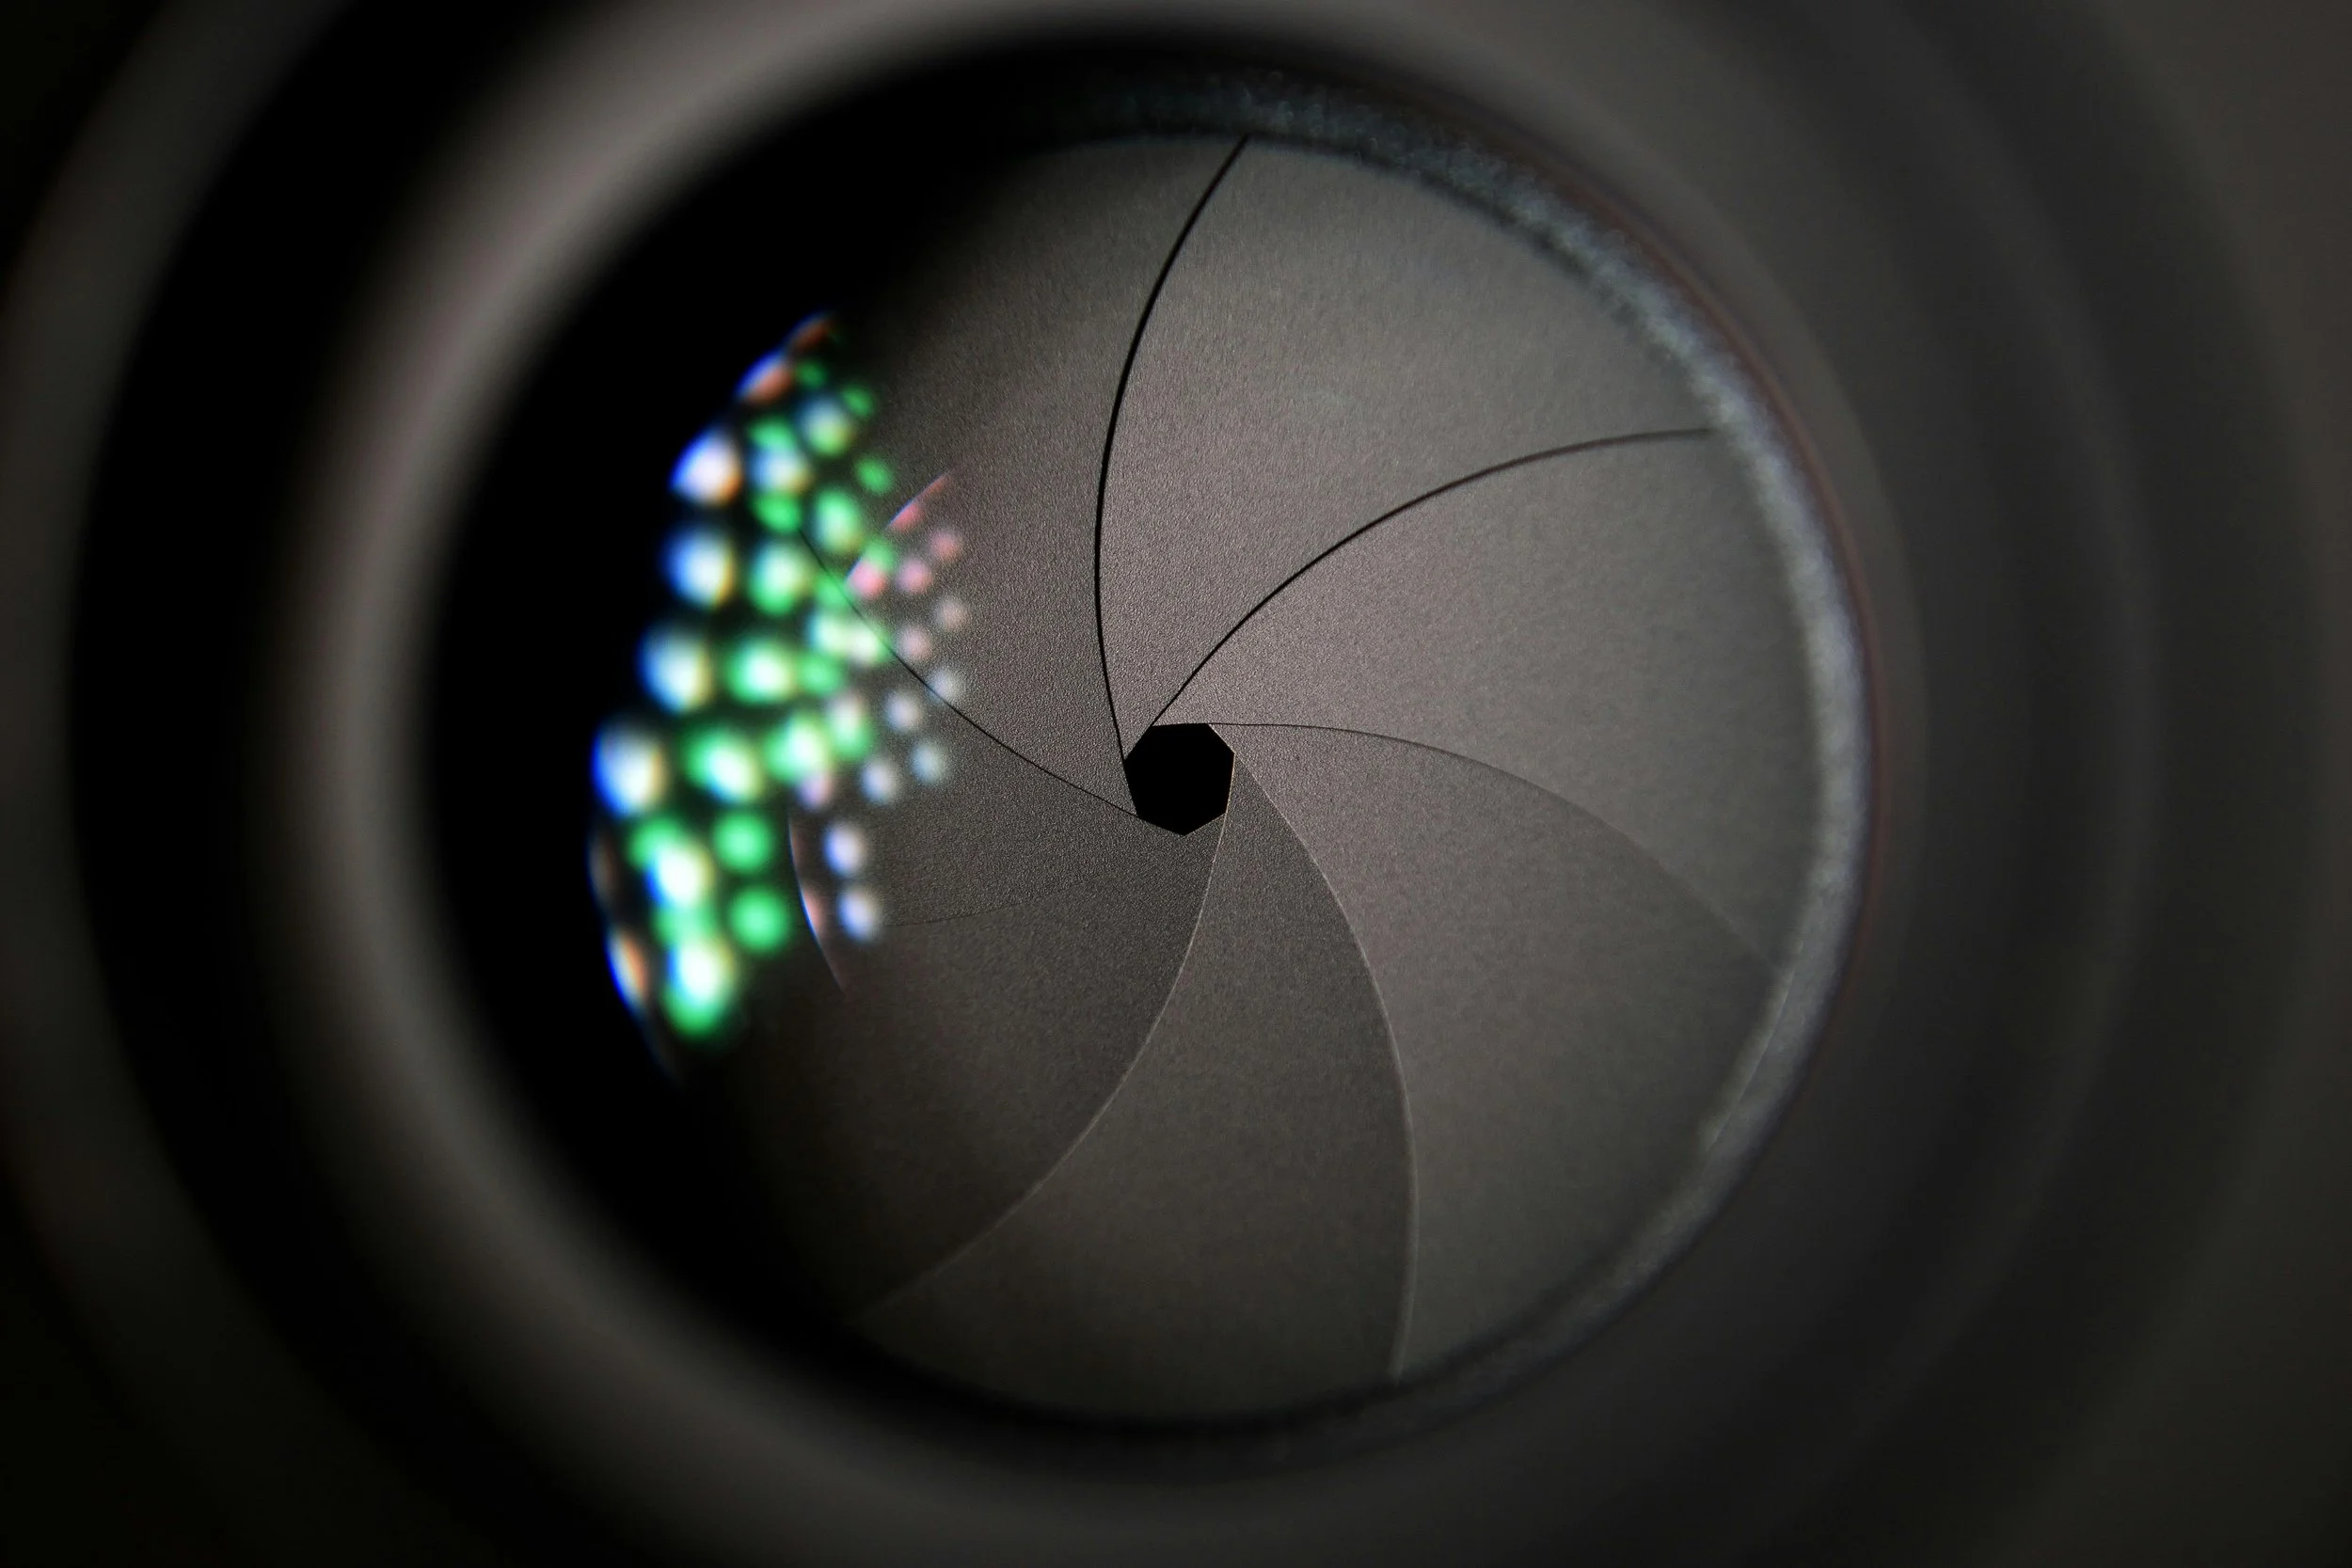
2. Apperture
It is another side of the exposure triangle which plays a crucial role in photography, as it controls the amount of light that hits the sensor by precisely opening or closing the aperture. This setting also significantly affects the depth of field in your images. A low f-number, such as f/1.8, allows more light to enter, creating that beautifully soft and blurry background effect known as bokeh—ideal for stunning portrait photography. Conversely, if your photographic style leans more towards landscape, or a style where your aim is to have everything in focus and exceptionally sharp, you will want to opt for a higher f-number, typically ranging from f/8 to f/16, to achieve that desired clarity throughout the scene.
3.ISO
Think of it as a volume knob on your headphones. ISO does not actually increase the amount of light that is hitting your sensor; it is only amplifying the signal that is already present. For example, during a basketball game, after you have made the necessary adjustments to your shutter speed and aperture to minimize any blur in the images, if you notice that the final image is still very dark, you should consider increasing your ISO in order to properly expose the image. Just remember, however, that the higher the ISO number you choose, the more grain or noise you will introduce to the image, which can affect the overall quality, althoug bigger sensor sizes may let you get away with higher iso.
The faster you master and understand these settings will make it easier for you to gradually focus more on finding your style and approach to photography.


